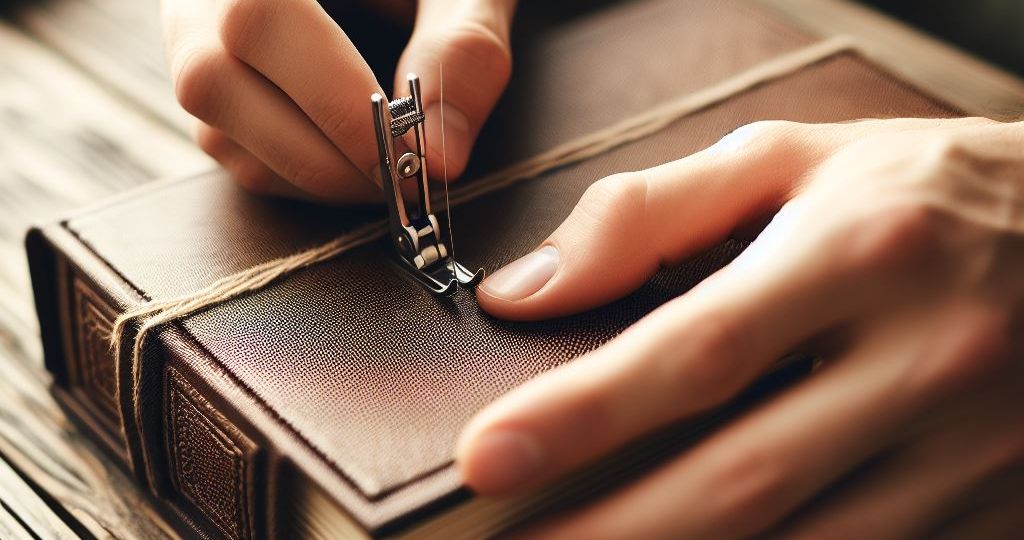
In this age and time, there seems to be something truly special about holding a physical book in your hands. Feeling its weight, hearing the sound of pages turning, and smelling the paper all add to the experience of reading.
But have you ever thought about how books are made?
Bookbinding is the process of putting together a book so that it stays together and looks good. It’s been around for a very long time, and it’s responsible for some of the most beautiful and important books in history.
From simple scrolls to fancy and decorated books, bookbinding has always been a way to keep knowledge safe and make it look nice too.
While the digital age might have led some to believe book binding is a dying art, this couldn’t be further from the truth. In fact, book binding is experiencing a resurgence in popularity, finding exciting new applications beyond traditional publishing.
This article delves into the captivating world of book binding, exploring its historical significance, its modern adaptations, and even offering some beginner-friendly techniques you can try yourself!
The Evolution of Book Binding
Book binding has a long and fascinating history that dates back to ancient times. In the beginning, clay tablets were used to write important information and then fastened together with cords or rings.

As time passed, people started using materials like papyrus and parchment to write on, which led to the creation of new binding techniques.
The Egyptians used reeds or leather strips to hold scrolls together, while the Romans developed a new way of binding books, which we still use today.
During the Middle Ages, monks in monasteries spent a lot of time creating beautiful books with intricate illustrations and lavish bindings made from wood, leather, and precious metals.
These books were not only used to store knowledge but were also considered works of art.
Later, in the 15th century, Johannes Gutenberg invented the printing press, which changed the way books were produced forever.
This led to standardized printing techniques and the mass production of books. These books had simpler but more durable binding styles that are still commonly used today.
Modern Applications of Book Binding
Even though digital media is everywhere, book binding is still an important and useful skill today. In fact, there are some really cool ways that book binding is being used in our modern world.
Want to know some examples? Keep reading!
- Artist’s Books: Bookbinding serves as a creative medium for artists who push the boundaries of the traditional book format. These unique creations can incorporate various materials, unconventional structures, and even interactive elements.
- Handmade Journals: In a world saturated with digital note-taking apps, there’s a growing appreciation for the tactile experience of writing in a handcrafted journal. Book binding skills allow individuals to create personalized notebooks with unique designs and features.
- Scrapbooking and Memory Keeping: The art of bookbinding offers a wonderful way to preserve cherished memories. Scrapbooks filled with photographs, mementos, and handwritten stories become treasured family heirlooms when bound with care and creativity.
- Photo Albums: Professionally bound photo albums provide a timeless way to showcase treasured memories. They offer a more personal touch compared to digital photo albums and can be customized to reflect the occasion or theme of the photos.
- Book Restoration: For bibliophiles, there’s immense satisfaction in restoring a beloved book to its former glory. Bookbinding techniques are essential for repairing damaged pages, reinforcing cracked spines, and ensuring the longevity of cherished volumes.
- Custom Boxes and Packaging: Bookbinding skills can be applied to create beautiful and functional boxes for a variety of purposes. From luxury gift packaging to presentation boxes for artists and businesses, bookbinding techniques add a touch of elegance and sophistication.
Getting Started with Basic Techniques
The thought of book binding might seem intimidating, but with a few basic tools and techniques, anyone can create beautiful and functional books at home. Here’s a beginner’s guide to get you started:
Materials:
- Paper (printer paper or thicker card stock for covers)
- Thread (strong cotton thread is ideal)
- Needle
- Ruler
- Scissors
- Awl (optional, but helpful for creating sewing holes)
- Bone folder (optional, but useful for creasing paper)
- Fabric (optional, for covering boards)
- Cardboard (for book covers)
- Glue (optional, for adhering fabric or endpapers)
Simple Pamphlet Stitch:
- Fold and Crease: Take several sheets of paper together and fold them in half to create the basic structure of your book. You can use a bone folder to create a sharp crease. The number of sheets will determine the thickness of your finished booklet.
- Marking Holes: Align the folded edges of your paper and use a ruler to measure equal distances along the spine. Mark these points with a pencil to indicate where you’ll sew the pages together. An awl can be used to carefully pierce holes at the marked points.
- Sewing: Thread your needle with a long length of thread. Starting from the inside of the booklet near the center fold, sew through one of the holes from the back to the front. Pull the thread gently to create a tight stitch.
- Continuing the Stitch: Loop the thread back down through the next hole from the front to the back. Repeat this process, sewing through each marked hole and alternating directions (up from the back, down from the front) until you reach the end.
- Knotting and Finishing: Tie a knot with the remaining thread at the last hole and trim any excess thread. You can add a dab of glue to secure the knot for additional strength.
Creating Covers:
Cutting Cardboard: Cut two pieces of cardboard slightly larger than your folded paper to create the front and back covers of your booklet.
Fabric Covering (Optional): If you want decorative covers, cut fabric pieces slightly larger than the cardboard. Apply a thin layer of glue to the cardboard and carefully adhere the fabric, ensuring smooth edges.
Attaching Covers: With your booklet open, place it spine-up between the two cover pieces. Using your needle and thread, sew through the spine of the booklet and the covers several times, reinforcing the attachment.

Variations and Embellishments:
The simple pamphlet stitch is just a starting point. As you gain confidence, you can explore different binding techniques like coptic stitch or long stitch, which offer more flexibility and a more professional look.
For added personalization, consider using decorative papers for your covers, incorporating ribbons as bookmarks, or marbling the edges of your pages. The possibilities are endless!
The Enduring Legacy of Book Binding
Book binding is more than just a practical skill; it’s a way to connect with the rich history of written communication and express your creativity.
Whether you’re crafting a simple pamphlet stitch booklet or meticulously restoring a treasured antique, the process of book binding allows you to leave your own mark on the written word.
So, the next time you pick up a book, take a moment to appreciate the artistry behind its construction. And who knows, you might be inspired to unleash your inner bookbinder and create something beautiful and lasting yourself!
Video Resource:


